Table of Contents
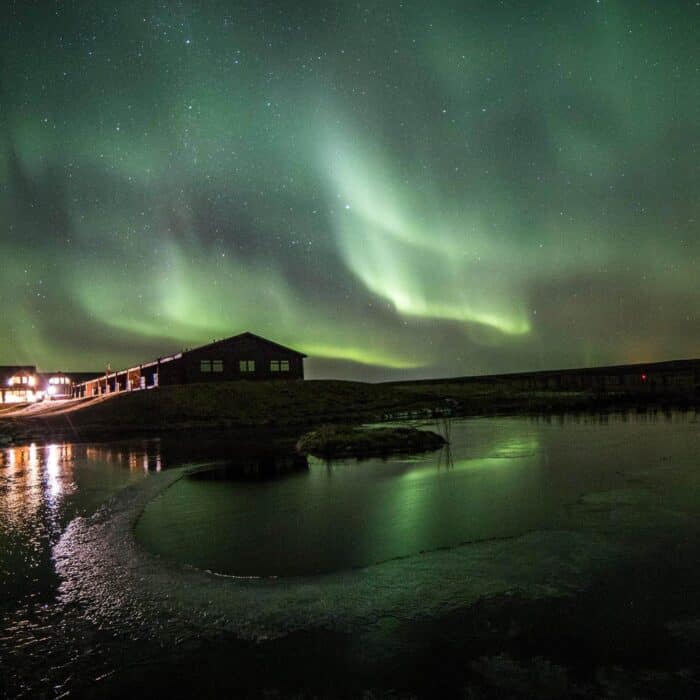
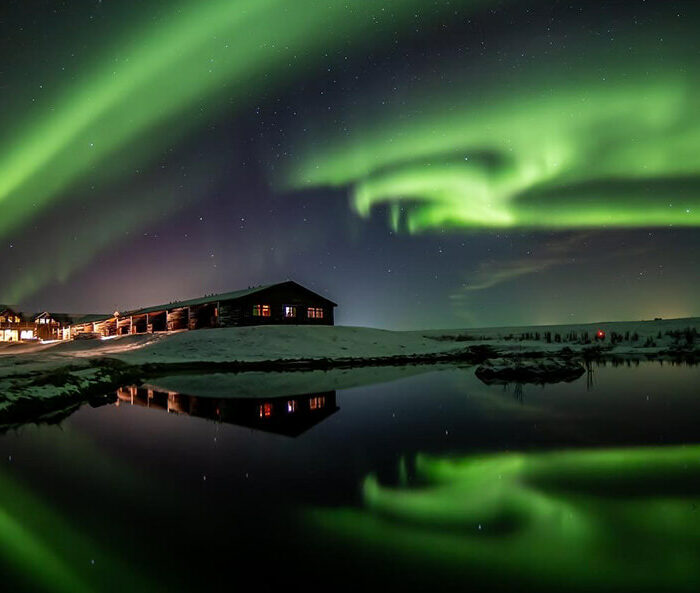
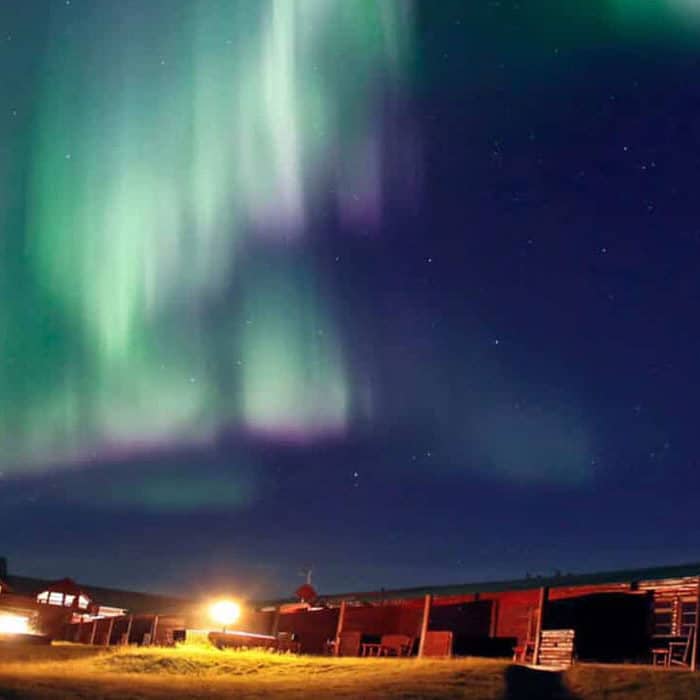
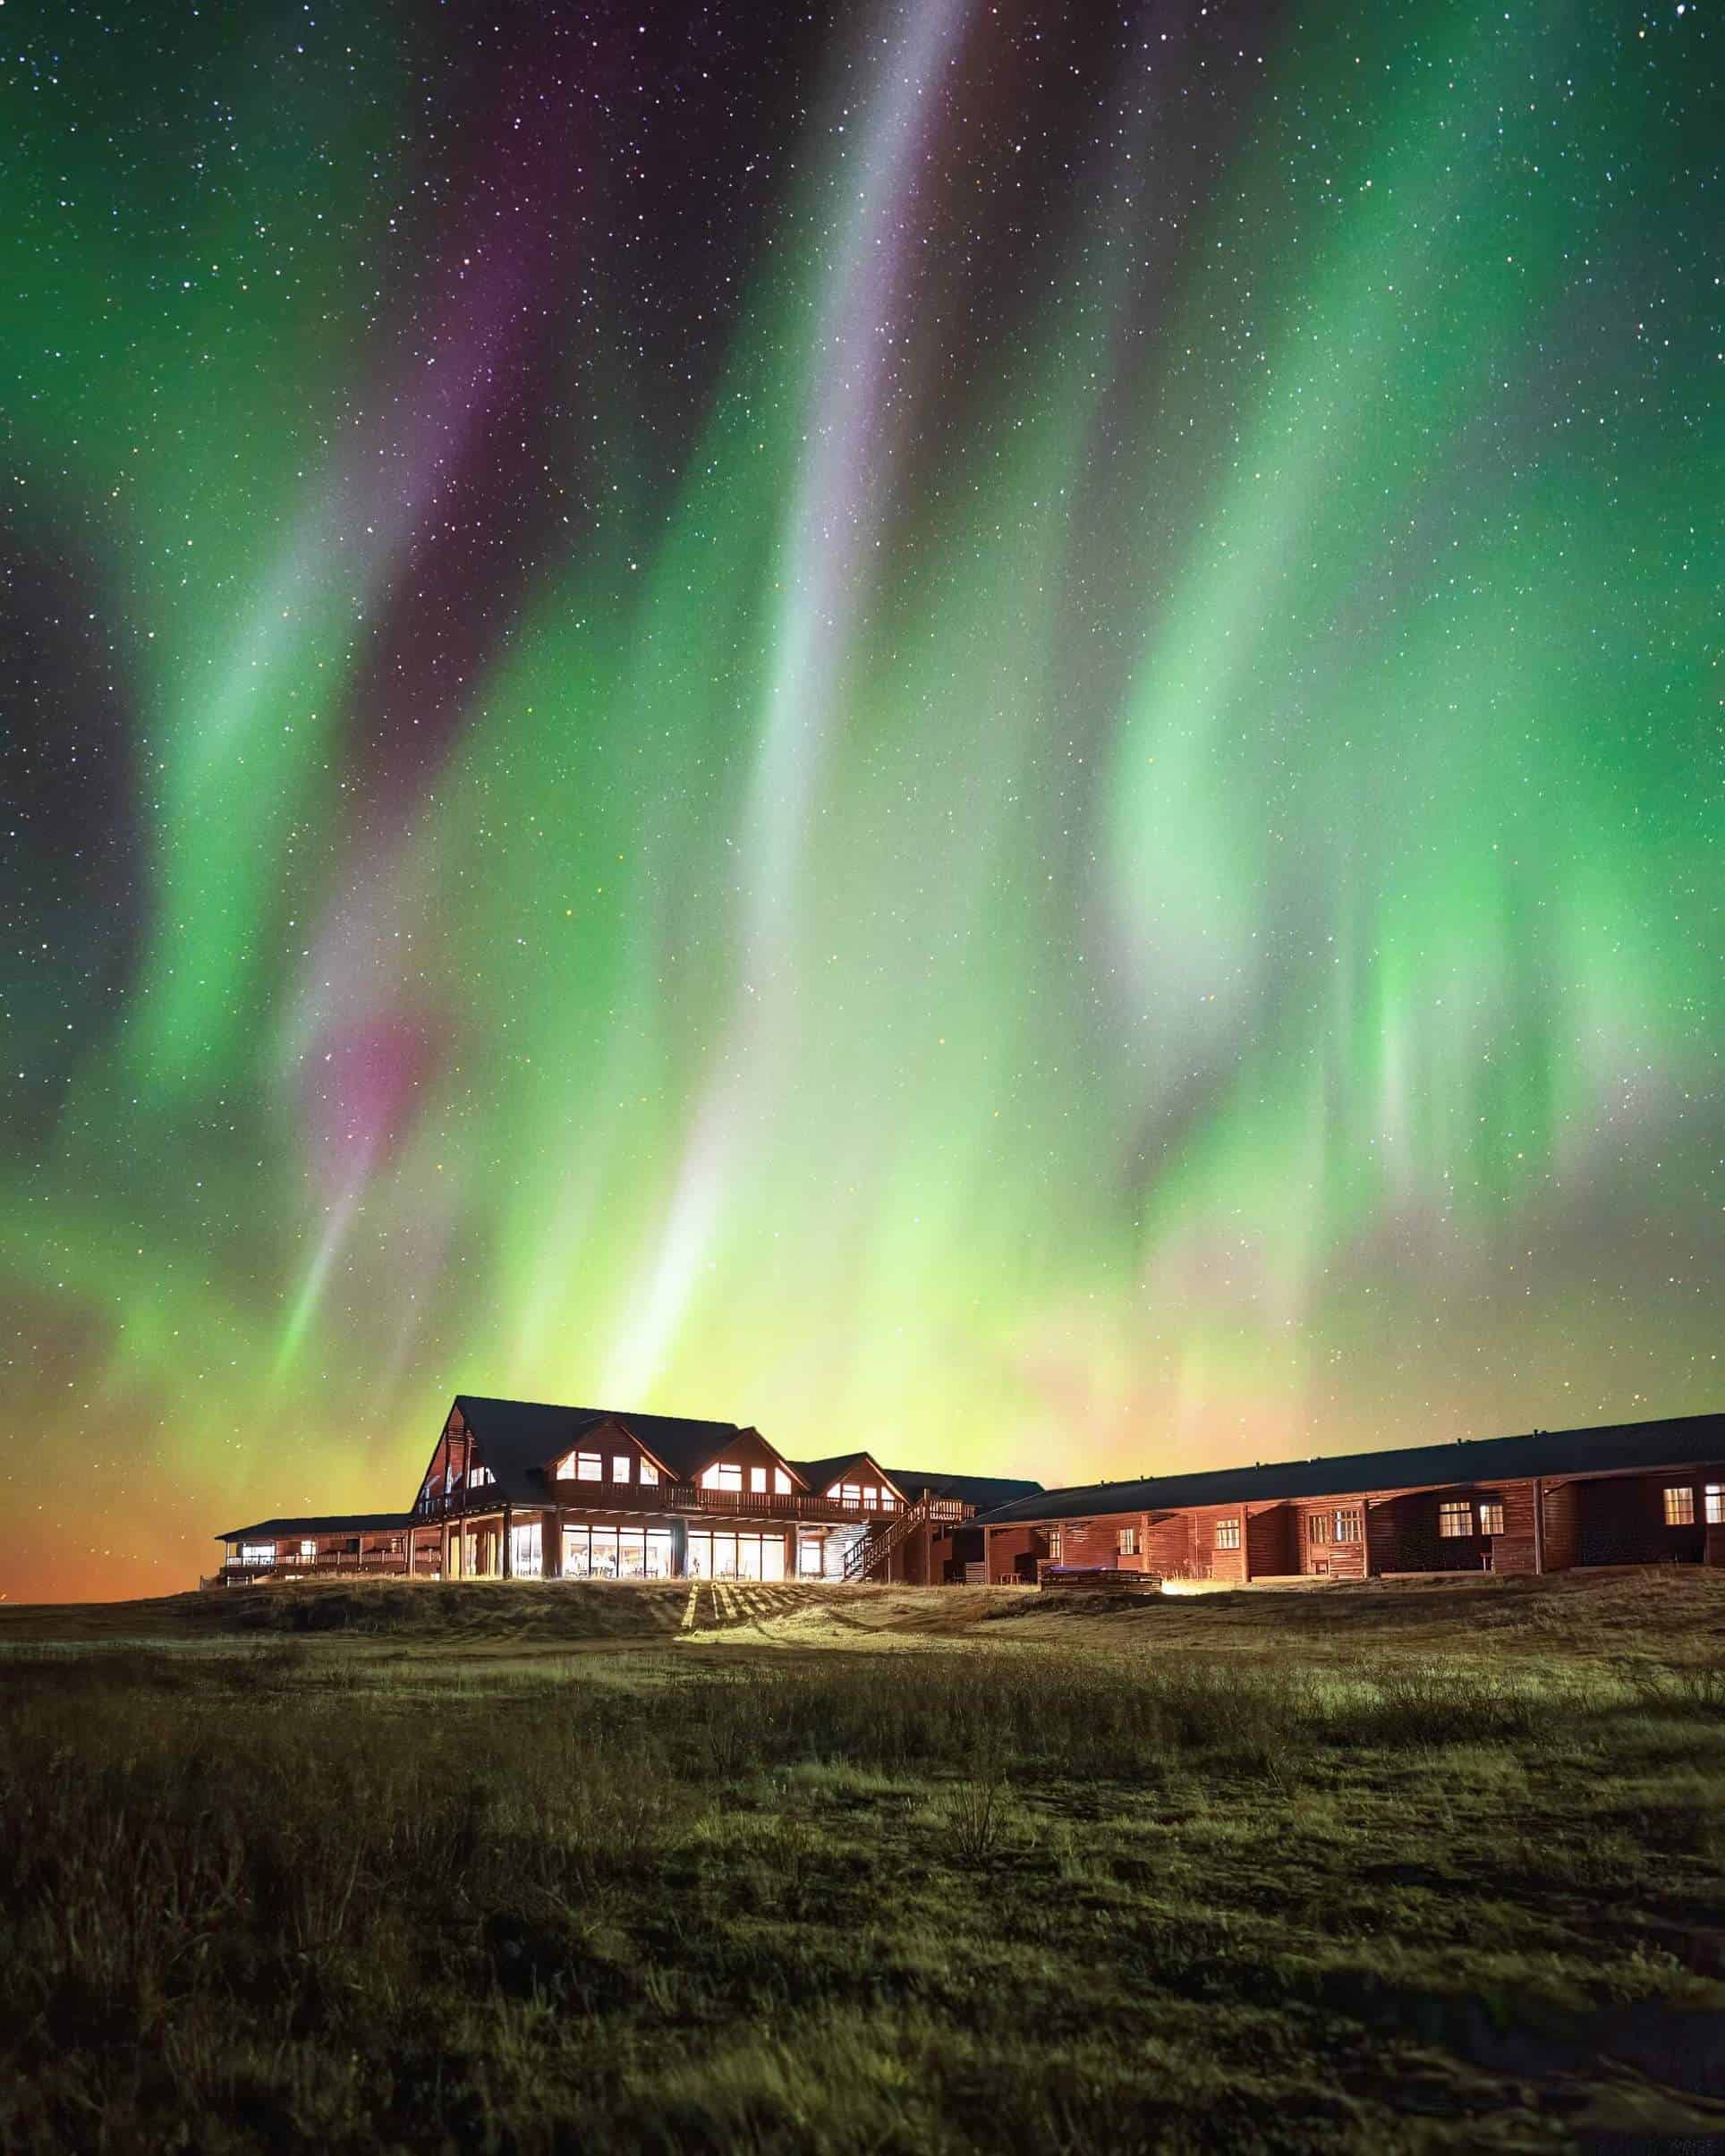
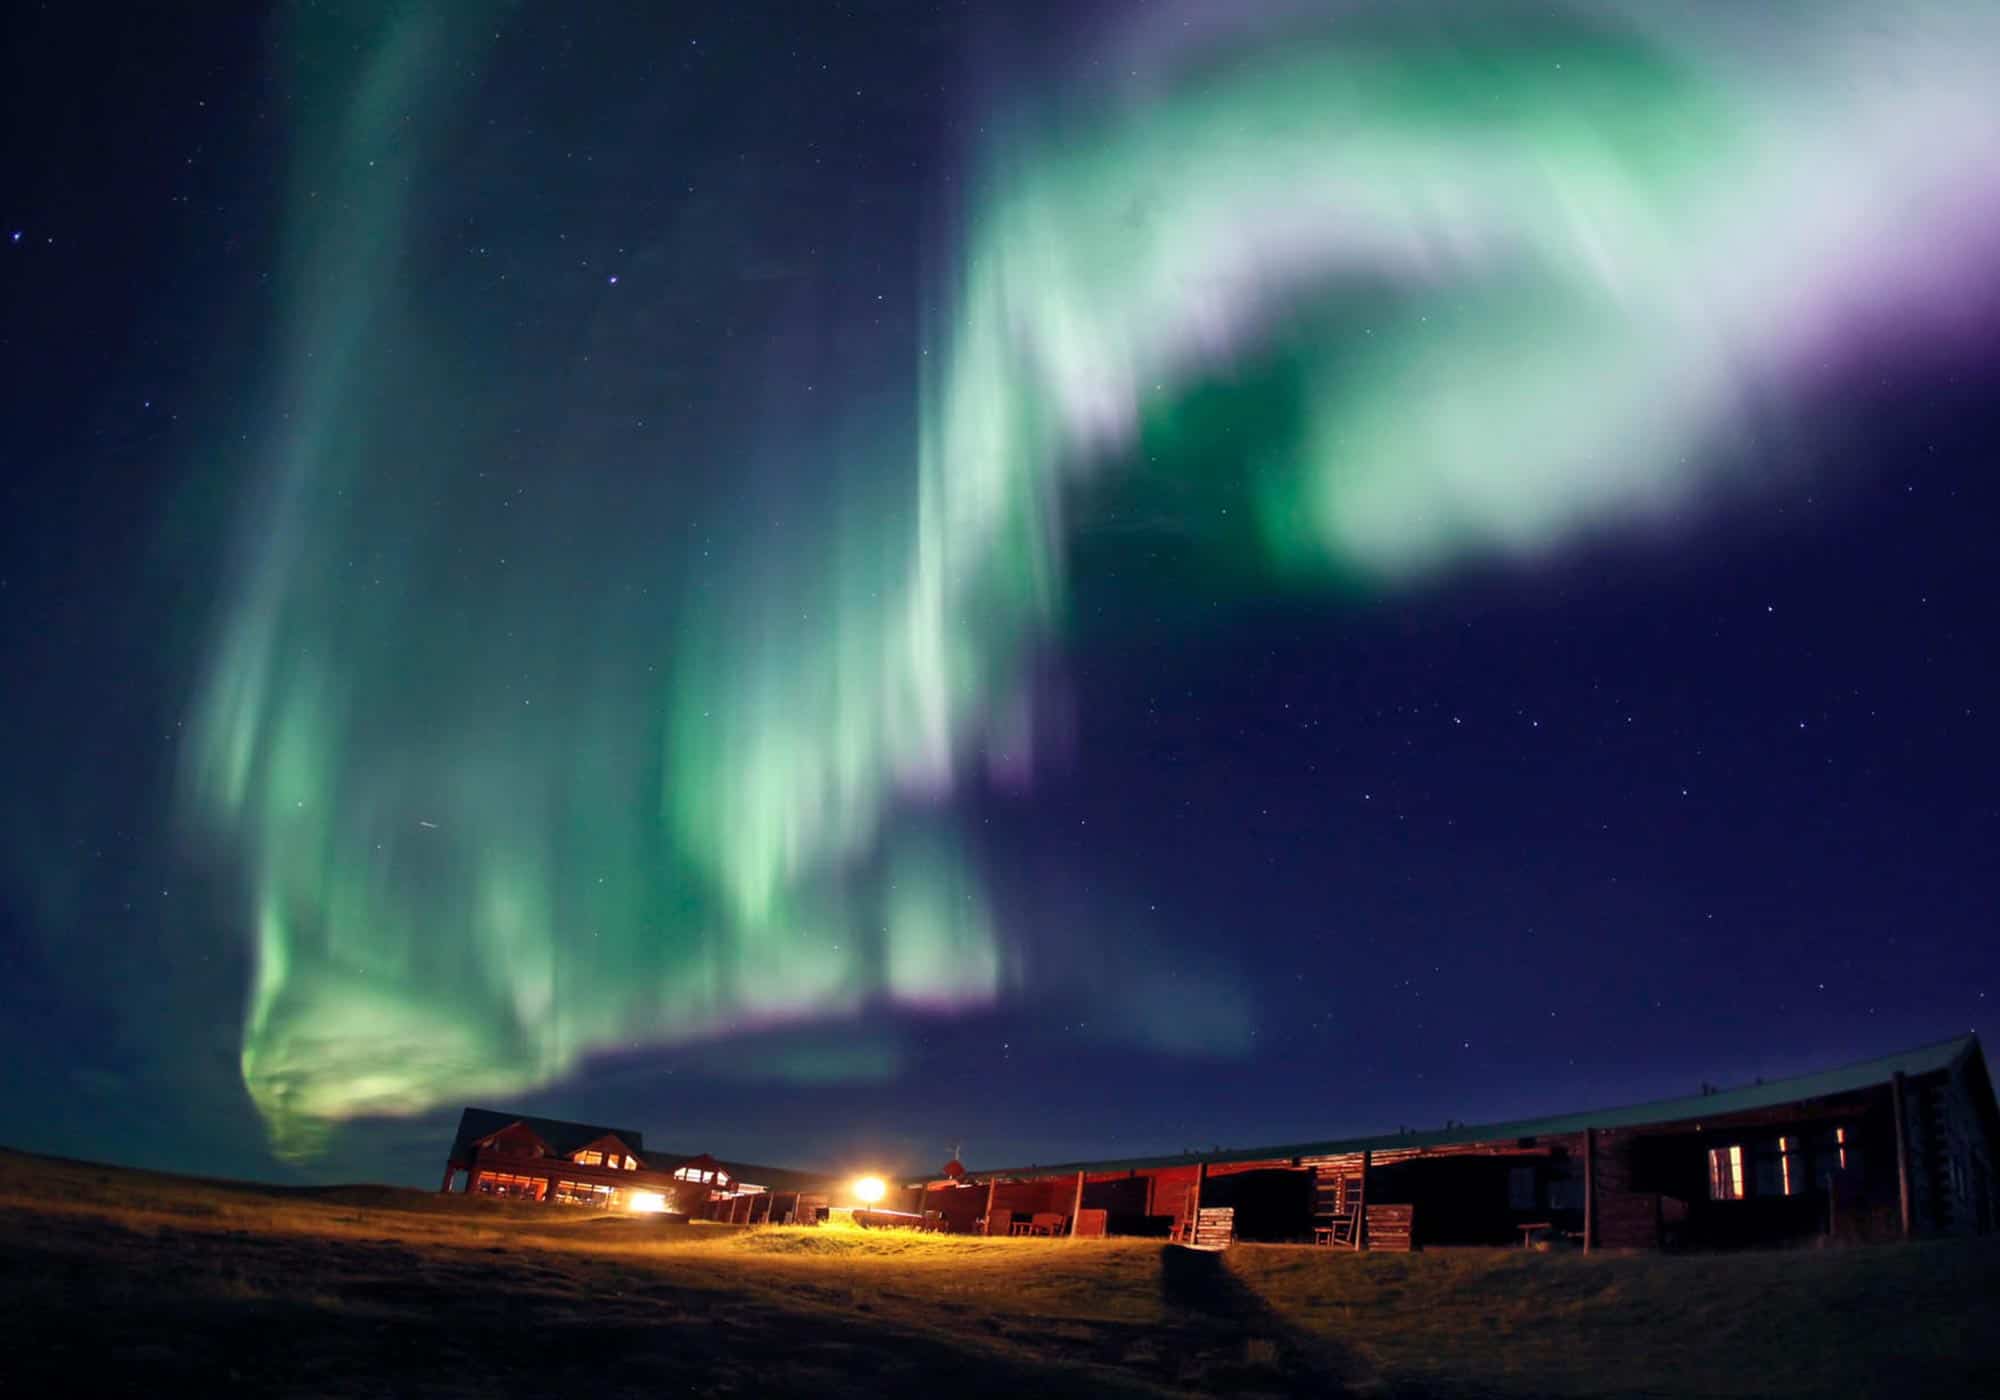
At Hotel Rangá northern lights hotel in south Iceland, we offer our guests an amazing opportunity to view the aurora in style. Watching the northern lights dance across the night sky is an unforgettable experience – one many people want to preserve in a photograph. With photography, you can share the northern lights with friends and family back home, as well as remember your adventures in Iceland. However, photographing the aurora requires a bit more information than other kinds of photography. Keep reading our detailed guide to learn how to photograph the northern lights.
What are the best conditions to photograph the northern lights?
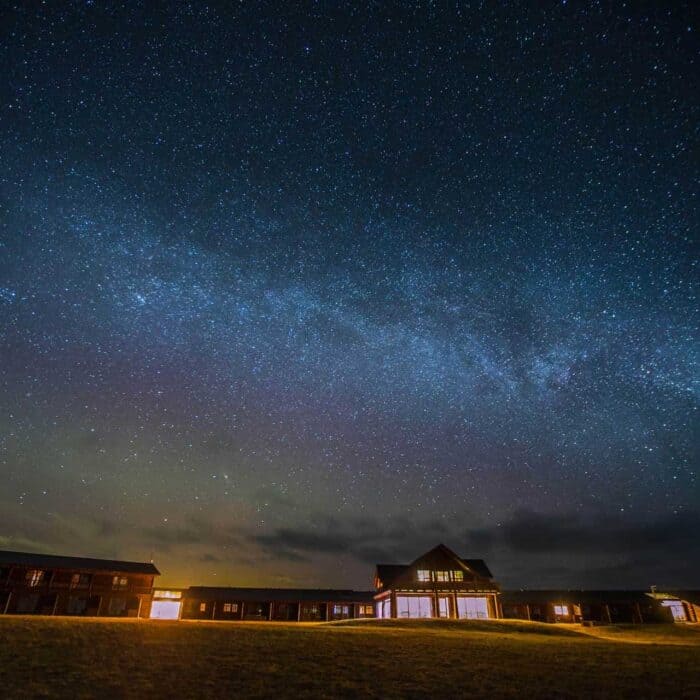
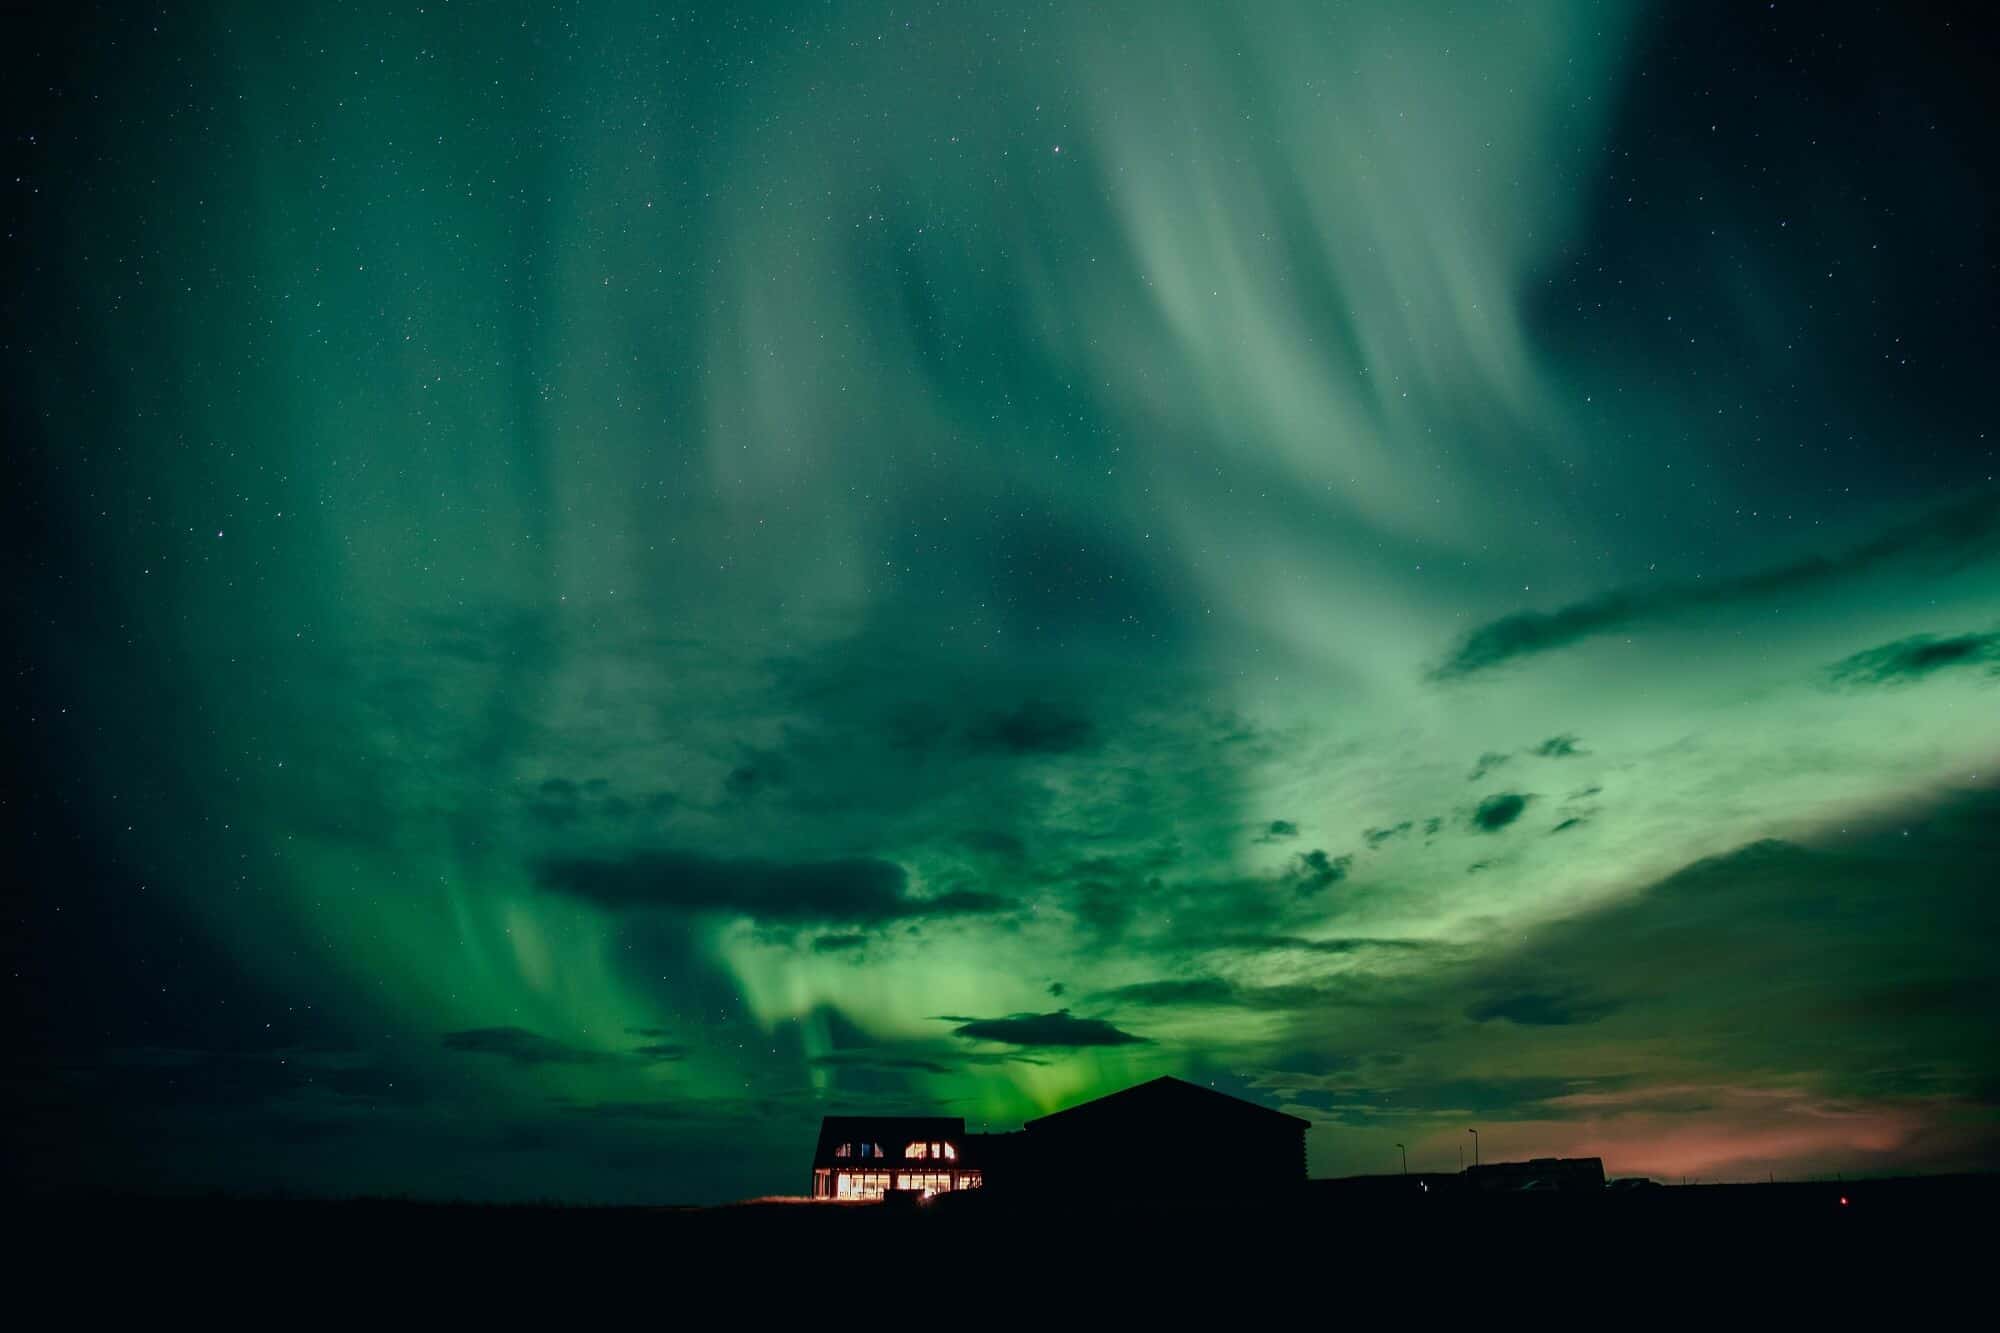
The northern lights are quite unpredictable, but there are a few necessary conditions that will increase your chances of getting a good photograph. Most importantly, we need a clear, dark night sky. Because of Iceland’s midnight summer sun, this means that northern lights season stretches from September to March. A clear sky is equally as important as a dark sky – cloud cover can prevent us from seeing the northern lights. You can check the current cloud and weather conditions at vedur.is.
We also need solar activity in order to see and photograph the northern lights. The swirling greens, purples and pinks of the northern lights are actually generated when solar particles interact with the Earth’s atmosphere and magnetic field. Scientists can measure solar activity, but predictions are most accurate 24 hours beforehand. This is why we cannot exactly predict when the northern lights will appear.
Can you photograph the northern lights even if they are less active?
If the northern lights are active, you should be able to take a photo of the phenomenon – no matter the intensity. Sometimes cameras are even able to pick up the lights when they are unable to be seen with your naked eye. You can always ask in the Hotel Rangá reception to find out more about the northern lights and their activity level. It is also possible to check activity levels on vedur.is and auroraforecast.is.

Can I photograph the northern lights on my smartphone?
In general, DSLR cameras are preferable, as they offer better settings to capture the northern lights. However, phone technology has been improving exponentially in the last few years. If you own a newer iPhone or Android phone, there is a good chance you will be able to photograph the northern lights on your phone. As always, stronger aurora activity will improve your chances of getting a good shot. A big upside in taking a photo on your phone is that you can quickly send the photo to friends and family or upload the shots to social media.
How do I photograph the northern lights with an iPhone or Android phone?
First, it is essential to point out that newer iPhone models will take better shots of the northern lights. With every iPhone model, camera technology evolves and becomes more advanced. Specifically, we recommend shooting with an iPhone 11 or newer because these models have a special setting known as Night Mode.
Similarly, newer Android phones will always have better camera technology than older phones.
- Shoot in Night Mode: When shooting with an iPhone 11 (or newer models), Night Mode will automatically turn on in low-light conditions. You can tell that Night Mode is active by looking for the icon in the top left corner of your phone. Night Mode works by increasing the photo’s exposure time but also by taking a series of still images at different exposure lengths. These images are then combined using automatic algorithms. The resulting image has reduced noise as well as better detail. Many Android phones have a similar Night Mode feature that goes by a different name. For example, on the Galaxy S23 range, the mode is called Night. On the Pixel 8 phone the mode is called Night Sight.
- Use a tripod: Even with an iPhone or Android phone, it is important to use a tripod to photograph the northern lights. A stable tripod prevents camera shake, which consequently results in a clearer image.
- Use a timer or remote shutter release: Using a timer or remote shutter release will also reduce camera shake.
- Make manual adjustments: On newer iPhones and Android phones, it is possible to make some manual adjustments. For example, you can change the exposure by using manual focus. Simply tap the screen where you want to move the focus area. Next to the focus area, there will be a sun icon on a vertical line. Drag the sun icon up and down to adjust the exposure.
- Try out a northern lights photo app: There are some northern lights photo apps available on the app store. They can make it possible to adjust other manual settings. In addition, they can make it possible to shoot in RAW format. RAW files gives more flexibility when editing.
- Edit your photos: Be sure to edit your photos – adjustments in contrast, color brightness and brightness can make your photos even better.
What equipment does a serious amateur photographer need to shoot the northern lights?
- DSLR camera: Though it is possible to shoot the northern lights with an iPhone or Android phone, a DSLR or Digital Single-Lens Reflex camera is going to give you the best shot.
- Wide angle lens: A wide angle lens with a large aperture will help you to capture more of the night sky in your photographs.
- A tripod: If you want to keep things steady, a sturdy tripod is essential. At Hotel Rangá, we have several tripods for our guests to borrow.
- A remote shutter release or cable release: This piece of equipment will allow you to trigger the camera without touching it, thus reducing any risk of camera shake. However, a cable release can be more reliable when shooting the northern lights. Some wireless options may be affected by cold temperatures.
- Fully charged / extra batteries: Without power, you won’t be able to capture any photographs. What’s more, cold temperatures can often drain batteries. To be extra safe, we always recommend bringing extras.
- Multiple memory cards: You need enough storage capacity in order to capture as many high-resolution photos as you want. Bring extra memory cards in case you run out of storage.
- Lens cleaning kit: When shooting in cold temperatures, there is always the risk of condensation. It is a good idea to bring a lens cleaning kit in case any moisture should gather on your lens.
- Headlamp or flashlight with a red filter: This nifty piece of equipment will make it easier to adjust camera settings without disturbing your night vision.
- A waterproof, sealed bag or rain cover: Icelandic weather can change rapidly. What’s more, there is always the risk of condensation when shooting in the cold. By keeping your camera in a waterproof, sealed bag prior to shooting, you can reduce the risk of condensation or rain damage.
- A smartphone: While you are shooting, it is important to check the ongoing aurora forecast and weather at auroraforecast.is and vedur.is.
What should I wear to photograph the northern lights?
When you are photographing the northern lights in Iceland, warm clothing is essential. Wear thermal layers, a wool sweater and a warm coat. Be sure to also wear a thick hat, gloves and wool socks. Sturdy shoes or boots are key as you will be walking around outside, in the dark. As Icelandic weather can change so rapidly, it is also a good idea to wear waterproof or water resistant clothing.
All guests at Hotel Rangá can borrow our northern lights snowsuits. They will keep you nice and toasty while you photograph the northern lights.
How can I prepare to photograph the northern lights on a DSLR camera?
Though we have some ability to predict when the northern lights will appear, it often happens without much warning. Therefore, it is a great idea to prepare prior to your photography session. Then, you will be as ready as possible to get some incredible shots of the aurora.
Do you have more experience with photography and want to get the best northern lights shot? We have prepared a helpful checklist for serious amateur photographers. If you follow these tips when shooting the northern lights, you have a great chance of getting an unforgettable shot. And don’t forget to send us your northern lights photos – maybe we will even feature them on our blog!
- Remember your tripod and practice setting it up.
- Scout out a location in the daytime.
- Pack your waterproof camera bag with multiple batteries and memory cards.
- Check the aurora forecasts at vedur.is and auroraforecast.is.
- Use your fastest wide-angle lens and set the ISO (ASA) number from 500-1600. ISO refers to the sensitivity of the camera’s image sensor to light. However, if the northern lights are quite faint, you may need to choose an ISO higher than 1600.
- Switch your camera to manual focus mode, and activate Live View mode to view a live preview on the LCD screen. Be sure to set your LCD Brightness to low. Utilize a distant light source or a bright star to achieve accurate focus.
- When exposing, experiment with shutter speeds that range from 5 seconds to half a minute. To test your exposure, consult the histogram. Faint auroras will probably need a longer shutter speed. Bright auroras will probably need a shorter shutter speed.
- Turn on Long Exposure Noise Reduction.
- Remove the filter from your lens – it is not necessary to photograph the northern lights.
- Shoot in RAW format – this will give you more flexibility when editing files in post.
- Use a cable release if possible – a wireless release can be affected by cold temperatures.
- Put black tape over your red processing light under the wheel (for Canon users-your fellow photographers will like you).
How can I reduce condensation when photographing the northern lights in Iceland?
Condensation can negatively affect your northern lights photos, so it is a good idea to try to prevent it from happening. For example, condensation can make it difficult to focus and lead to blurry images. Condensation can occur when transferring your camera from a warmer location to a colder one, so it is best to try and avoid sudden temperature changes. Here are some suggestions about how to prevent condensation on your camera lens.
- Keep your camera in a closed bag before photographing.
- Don’t breathe on your viewfinder.
- Use a lens hood to protect against frost and condensation on your lens.
- While waiting for the aurora, point your camera lens downward to prevent condensation from gathering on the glass.
- Have a high-quality cleaning cloth accessible to clean frost from the lens if needed.
We hope this post has shown that anyone can photograph the northern lights. When conditions are right, it is possible to capture these elusive lights on even a smartphone. At the end of the day, the northern lights are always somewhat unpredictable. This just makes getting the perfect shot that much more exciting. Good luck with your northern lights photography, and don’t hesitate to tag us on social media @hotelranga – we love to see them!